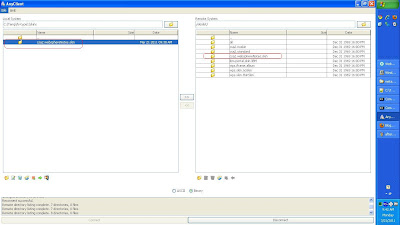
- First use the WebDAV client to create connection to
http://localhost:10039/wps/mycontenthandler/dav/skinlist, once you do that you should see list of all the skins available on the server like this - Download the
csa2.standardfolderon your machine in sayC:\Temp\fs-type1\skins - Rename the folder to say
csa2.websphereNotes.skin - Open the localized_en.properties file in Notepad and change value of title like this
#
#Mon Mar 21 09:37:59 PDT 2011
description=
title=WebSphere Notes Skin - Upload the
csa2.websphereNotes.skinfolder back tohttp://localhost:10039/wps/mycontenthandler/dav/skinlistURL - Now if you log into the WPS Admin Console and go to Themes and Skins portlet you should see your skin, if you dont try restarting or creating a new Test Skin manually from the Admin Console, which should flush your cache
The next step would be to add this skin to your theme and then you can apply it to a page


1 comment:
Thanks for info
Web Design Company in Bangalore
Website development in Bangalore
Post a Comment